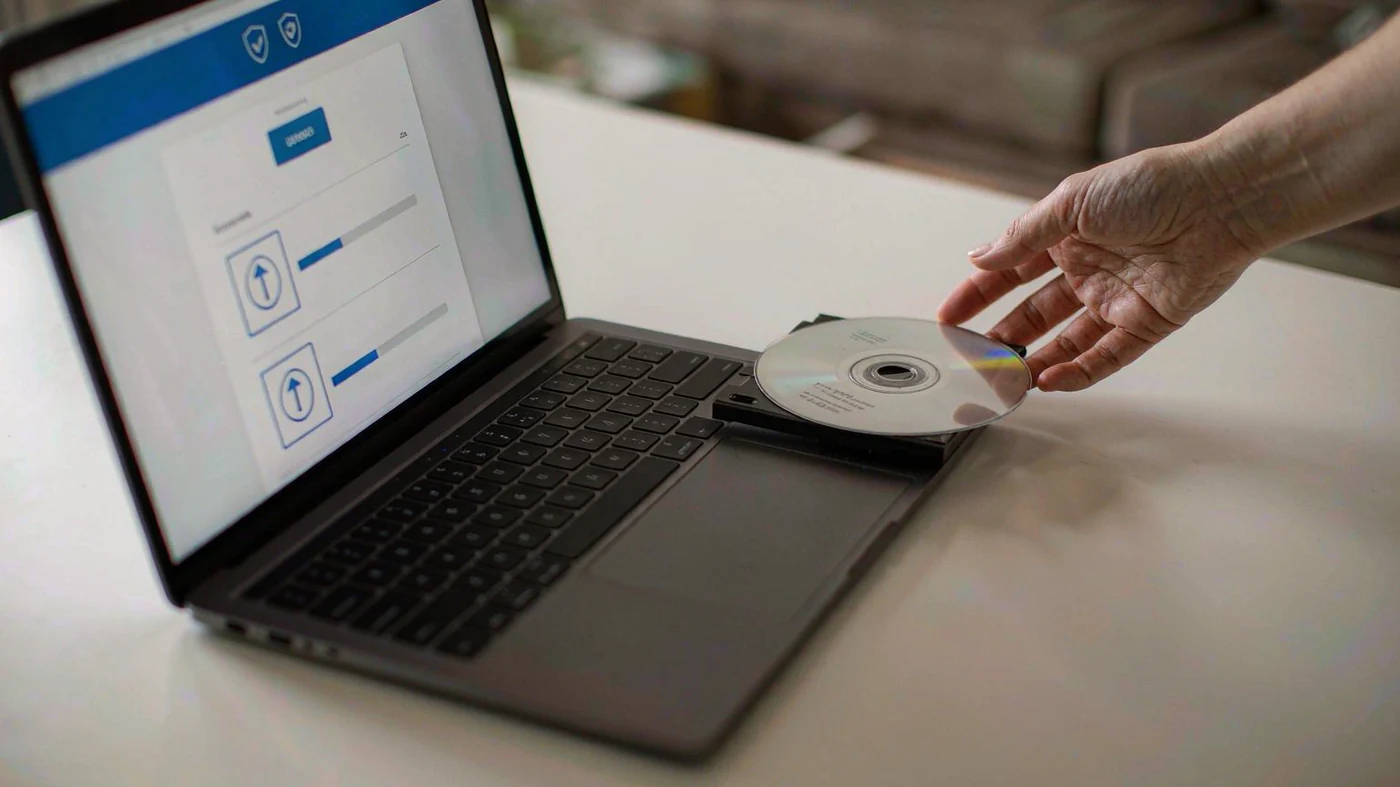
Use the receiving clinic’s confirmed secure portal or encrypted transfer service, upload the complete DICOM study and radiology report it requests, and ask staff to confirm the full study opens. Verify the recipient before sending, restrict access to the intended clinic, and send any file password through a separate agreed channel. If the clinic has no upload option, ask whether your imaging center can transfer the study directly or whether it accepts encrypted physical media.
DICOM is the standard used for medical images and related information [1]. Sending the original study lets the reviewing doctor work through the image series rather than rely on photos of a screen. File format and privacy protection are separate questions: ask both what files the clinic needs and how to transfer them securely. This article is general information, not personal medical advice.
Check Security Before Sending
Confirm the recipient, encryption during transfer, and who can open the files after delivery. Ask for recipient-restricted access and a link expiry where the service supports them. A password or an expiry date alone does not establish that a transfer is protected. Send only the studies and reports requested for the review.
For U.S. organizations subject to HIPAA, email is not banned outright: safeguards must address access, integrity, and transmission security [2]. HIPAA applies to covered entities and their business associates; it is not Japanese law.
U.S. HHS breach-notification guidance describes encryption that renders health information unreadable to unauthorized people and calls for the decryption key to be kept separately from the encrypted data [3]. Ask the clinic to confirm the protection its transfer service uses. If it requests a separate file password, agree how to provide it without placing it in the same message as the file or link.
Prepare the Complete Study and Report
Do not select just a few pictures from a scan. MRI images are called slices, and an exam can produce dozens or sometimes hundreds of them [4]. CT also produces a series of images showing thin slices of the body [5].
The DICOM standard covers communication and management of medical imaging information and related data [6]. Ask the imaging center for the complete study export rather than converting it into screenshots, a video, or a photo album.
Before uploading, gather these items:
- The full original DICOM study, exactly as the imaging center exported it — don’t rename files inside the folder
- The written radiology report, ideally as a PDF
- The scan date, body part, and side — for example, “MRI, right knee”
- An older scan of the same area, if the doctor wants to track changes over time
- A short cover note saying what you sent and what you want to know
If you only have a printed film or a viewer disc, ask the imaging center for the full DICOM export. Ask what export options they offer — common options include a secure download, a USB drive, or a patient-portal export. And hang on to your own backup copy until the clinic confirms everything arrived.
Keep the exported folder structure and files unchanged. If the clinic requests a ZIP archive, ask how it wants the complete export packaged; do not change the images or remove files to make the upload fit. Put plain-language labels in your cover note rather than renaming files inside the study.
If you are sending images for care in Japan, the treatment process in Japan page describes a record-review step where imaging, laboratory results, and prior treatment records go in together. Send the complete study and the report the clinic asks for in your first upload.
Choose an Accepted Transfer Method
Confirm which of these options the receiving clinic can support before sending identifiable records.
| Method | When it is usually suitable | What to check |
|---|---|---|
| Clinic patient portal or secure upload link | Best first choice when available | Login required, files encrypted in transit, confirmation receipt |
| Clinic-named encrypted file service | Useful for large DICOM folders | Expiring link, password sent separately, limited recipients |
| In-person delivery or mailed encrypted USB | Useful when uploads fail or files are very large | Clinic accepts the device, encryption and separate password agreed, sealed package, tracking for mail, readability confirmed |
| Direct request from imaging center to clinic | Useful when both sides use medical image exchange systems | Confirm patient consent, sender and recipient details, study dates |
DICOM PS3.10 defines a framework for exchanging medical images and related information on removable media [7]. That supports the media-exchange concept; it does not certify a particular USB drive or mailing arrangement as secure.
For an upload, confirm accepted formats, maximum size, and any link expiry. If the page does not state them, ask the clinic rather than assuming. Use a private device and network where possible, avoid shared computers, and log out afterward.
If the clinic uses a third-party service, confirm who can access the study and whether recipients need a login or separate file password. Do not send your patient-portal account password to staff; use the service’s intended sharing process. For an encrypted file password, use a separate channel agreed with the clinic, such as a phone call.
When a U.S. patient requests their own records and email cannot handle large diagnostic images, HHS guidance describes an alternative such as mailing portable media to the individual [8]. Large imaging studies may need a portal, a file-transfer service, or physical media instead of an inbox.
Avoid These Shortcuts
Do not substitute these for the clinic’s confirmed secure process:
- Regular unencrypted email attachments; a password label alone is not enough to establish security
- Social-media direct messages, chat apps with unclear privacy controls, or SMS/MMS for full studies
- Public or “anyone with the link” share links that never expire
- Photos of films or monitor screens instead of the DICOM files
- Posting images in public forums to ask for opinions
- Sending your full lifetime record when the doctor asked for one recent study and report
For access to your own records from a U.S. covered entity, HHS guidance allows unencrypted email after a risk warning and confirmation of your choice; the entity cannot require you to accept an insecure delivery method [8].
Finally, check the address line. A single-letter typo in an email address or share invitation can send your scan to a total stranger. Double-check the spelling, don’t trust auto-complete, and never forward a clinic upload link to someone else.
Share Only What Is Needed
Send the records requested for the review. If the clinic asked for a knee MRI and report, leave out unrelated genetic results, full-body scans, and family documents.
Give clear ID details, but nothing extra. The clinic will usually need your full name, date of birth, scan date, and study type to match the images to you. It doesn’t need your bank details, extra ID numbers it never asked for, or passwords to unrelated accounts. If a form wants more than seems reasonable, ask why before you hit submit.
Don’t try to anonymize or redact DICOM files on your own unless the clinic hands you exact instructions. Stripping metadata can wipe out the scan date, the sequence details, or the link to the right patient. If a second opinion or research use calls for redaction, ask the clinic or imaging center how they handle it.
Lock your phone and computer and keep software up to date. Avoid downloading medical records to a shared computer in the first place; deleting a visible file afterward is not a guarantee that no copies remain.
When you send records across borders and languages, read the medical travel guide for stem cell treatment in Japan and the clinic’s own health-data and medical-records policy. Use the travel guide for planning context and the records policy for the stated handling of your information. Ask the receiving clinic about access, retention, and deletion, and keep your consent record.
Confirm the Full Study Opens
An upload-complete message does not tell you whether the clinic can open every series. Ask for a readability check, not just confirmation that a file arrived.
After you send your images, ask the clinic to confirm three things:
- Everything made it over, including every study and report you sent
- The full DICOM series opens properly, not just screenshots
- The radiology report is readable and matched to the right images
For example, if you are sending a current knee MRI and an older comparison study, adapt this message to the records you actually sent:
“I uploaded one right-knee MRI from 12 March 2026 with its report, plus one older X-ray from 2024 for comparison. Can you confirm you can open the full series?”
Receipt is not a medical opinion or acceptance for treatment. For this site, the medical disclaimer explains that submitting records does not mean the clinic has assessed or accepted you as a patient.
Name your files with this check in mind. Use the real examination date, not the day you translated or uploaded them, plus the body part and side where it matters. And if symptoms, surgery, or treatment changed after the scan, add that date to your message so the doctor doesn’t mistake old images for how things look today.
If the Upload Fails or the Study Will Not Open
Ask staff what failed before sending the same archive again. If the upload exceeded a size limit, request the clinic’s large-file route; do not remove slices to reduce it. If the link expired, ask for a replacement. If files are missing or unreadable, ask the imaging center for a fresh complete export and confirm that the clinic supports the format. These are troubleshooting examples, not a report of tested results on a particular portal.
Secure-Sending Checklist
- Confirm the exact upload method with the clinic
- Export the complete original DICOM study and the written report
- Check scan date, body part, and side
- Use a private device and the clinic portal or confirmed secure link
- Verify the recipient address and avoid public links
- Send any encrypted-file password separately; never share your portal login password
- Keep your own backup until receipt is confirmed
- Ask the clinic to confirm the full series opens
- Save the confirmation, policy, and consent record
Preparing scans for a review in Japan? If anything above is unclear, contact the care team before you upload.
Contact the care team